



How-to: maintaining a wooden cutting board
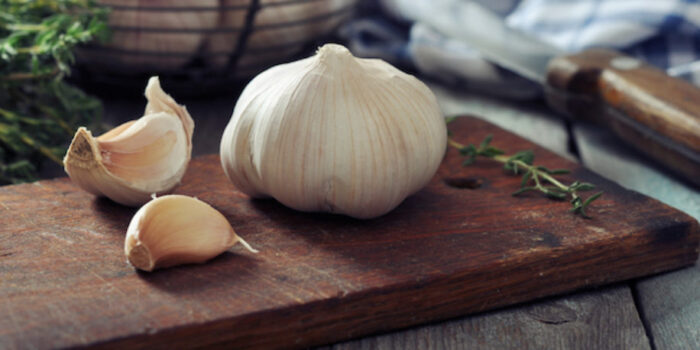
Do you have a wooden cutting board in your kitchen? There’s a good chance you’re not maintaining it properly after using it. What a shame, because if you do, it will last for years. With this three-step plan, your cutting board may still be salvageable. Thank us later.

Cleaning your wooden cutting board in 3 steps
Put it in the dishwasher? No way. The dishwasher drenches your board in very hot water, and once it comes out of the dishwasher, you let it cool down and dry quickly. This causes the board to crack. The corrosive stuff in a dishwasher tablet is also anything but good for wood.
Step 1: Washing and drying
Simply wash it by hand, then. Using a dish brush and lukewarm water. Have you cut fish or meat? Then use some dish soap too. After washing, dry the board thoroughly and stand it upright to let it dry completely. By that we mean: with the grain running vertically. This makes the board less likely to warp.
Step 2: Cleaning
Every four months, give the cutting board a more thorough cleaning. Do this with a generous splash of lemon juice and a handful of coarse salt. Let a mixture of the two ingredients soak into the wood for fifteen minutes, then scrub it off under the tap. You don’t need to be gentle: the idea is for the salt to scrub the board.
Step 3: Conditioning
Conditioning the wood is a must. Not with artificial coatings, but with oil. Always after cleaning with lemon and salt, but preferably even more often. Every month, for example. Oil penetrates the wood and creates a kind of protective layer. It keeps water from soaking in while allowing the wood to breathe.
Which oil should you choose? Preferably one that is odorless and tasteless: almond oil, for example. Flaxseed oil works too, if you apply it in several layers. It strengthens the wood fibers and gives the board a somewhat darker look. In any case, don’t use olive oil. It makes the wood sticky and dirty, and it also absorbs flavors.
Also read:
- Aha! So that’s what the cap on your pepper and salt mill is for!
- How to pick up eggshells easily
- Stop doing this: these 5 things go wrong with deviled eggs


