


Old school: Chicken Kiev
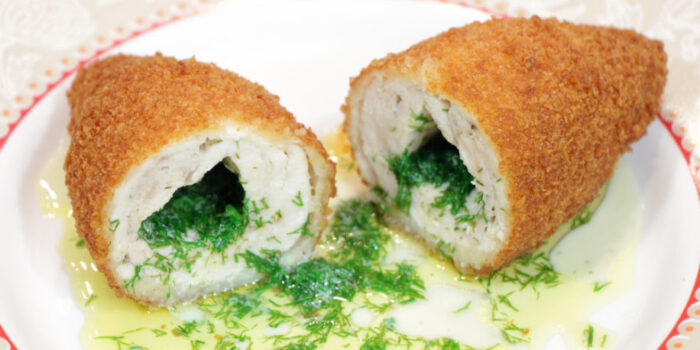
There are dishes that used to make you the talk of the town, but that hardly ever appear on the table anymore. Chicken Kiev is a typical example, and that’s such a shame. It’s time for a comeback.

For those who are getting a vague sense of recognition but can’t quite remember what exactly Chicken Kiev was: here it is. Chicken Kiev is chicken stuffed with herb butter. You then coat the whole thing in breadcrumbs and bake it until crispy. A perfect example is beautifully crisp on the outside but not too dark, perfectly cooked inside, and when you cut into it, the melted herb butter comes running out. Mmmm…
Cordon bleu, but different
Basically a kind of cordon bleu, but different. The crispy chicken owes its name to the city of Kyiv in Ukraine, where the dish originally comes from. The herb butter is usually made with parsley, but you can also use dill, chives or tarragon (chicken’s best friend). In any case, make sure there’s plenty of garlic in the butter, and for freshness you can also add a splash of lemon juice.
Crispy and perfectly cooked
Making Chicken Kiev yourself is absolutely not difficult, but there are two potential pitfalls. First, it’s important that the chicken is cooked through (salmonella and all that), but you don’t want the outside to burn. To create the perfect crust and the perfect inside, first fry the breaded chicken in a pan and then bake it in the oven for 18–20 minutes at 200 °C. Do you have a meat thermometer? Then aim for a core temperature of 70–72 °C (of the chicken, that is, not the butter).
Risk of leakage
Then there’s the risk of leakage. The butter should flow out of the chicken when you cut into it—not already in the pan or oven. A few steps are important for this. First, don’t cut the chicken completely open; after lightly flattening it, make a small incision. Think of it as a pita bread. It’s also a good idea to shape the butter and then freeze it. That way it’s very cold and melts less quickly.
It’s also important to seal the chicken as well as possible. First dip the chicken breast in flour and then in egg. Normally, you would now coat the chicken in fine breadcrumbs, but with Chicken Kiev it’s better to create an extra layer by dipping it in flour and egg once more. After that, your little chicken is ready for the breadcrumbs and finally the pan. Enjoy!
Also read:


