


Make your own sake in a week
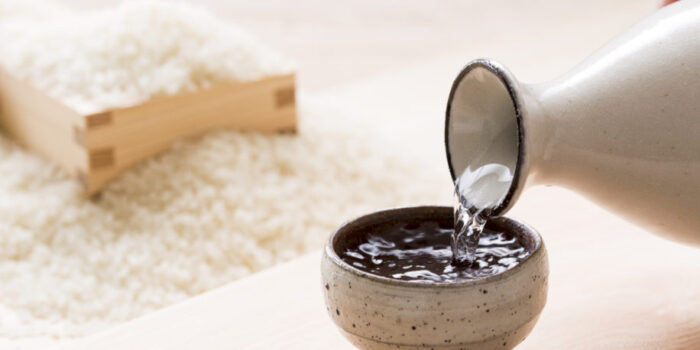
We all remember those moments when, as youngsters, we secretly tried to score a bottle of sweet white house wine at the nearest supermarket. Lambrusco, anyone? I never would have dreamed that making your own drink could be so easy. Sake, in this case. Ready in one week, gone in one day!

But how exactly do you make your own sake? The secret lies with the Japanese, who produced this drink centuries ago by chewing polished rice with the whole village and spitting the mush into a large pot. The enzymes in the saliva set a fermentation process in motion, in which the starch in the rice was first converted into sugar and then into alcohol. Both the taste and the texture of the mush changed, and that is how sake came into being.
Bizarre price tags
Nowadays, fortunately, sake is made without all the gargling and dry mouths. All you need is cooked rice, uncooked rice and water – the rest happens (almost) by itself. So why is some sake still so much more expensive than other sake? With the most expensive sake, the grain of rice is polished so extensively that only the pure core of the grain is used. This produces the highest-quality sake. That explains the sometimes bizarre price tags.
Good for the skin
Oh, and did you know that some Japanese people believe that warm sake baths are good for the skin? Gulp! Uhh… I mean, bottomsake. So keep brewing for a little longer. Just start with the recipe below. And if you’ve acquired a taste for it and want to learn how to brew sake from a real expert, check out Malicafe in Amsterdam for super-fun Japanese workshops.
Method
1. Fill an empty tea bag or something similar with the cooked rice. Rinse the uncooked rice thoroughly and leave it to drain.
2. Pour 200 ml cooking liquid and 500 ml tap water into the glass jar. Add the uncooked rice and the tea bag with the cooked rice. Loosely cover the jar with kitchen paper. Keep the jar at room temperature to get the fermentation process started.
3. From now on, massage the tea bag for about 1 minute every day for a week. The sake will start to bubble and fizz.
4. After one week, the sake is ready. Cover a sieve with a tea towel and filter the sake. Take it slowly and do not apply pressure; this will make the sake beautifully clear. Finally, bottle it and chill.
Also important: no waste is always worth celebrating! So definitely don’t throw away the rice pulp after filtering your sake. Mix it with a pinch of salt, flour and a few drops of oil, then spread it over a baking tray covered with parchment paper. Bake for half an hour at 150 °C and your sake rice crackers are ready.


