



10x the most important lessons from a decade of Great British Bake Off
Heel Holland Bakt is a brilliant show, just like its mothership The Great British Bake Off. After more than a decade in which the Western world got to know judges Mary Berry and Paul Hollywood, ever-wonderful presenters and dozens of hopeful contestants, there are few people left who don’t know what a soggy bottom is, or who don’t wrinkle their noses at an overbaked cake…

And watching with great compassion the countless successful but also hilariously failed attempts to put the most beautiful and delicious bakes on the competition table has taught us all kinds of lessons. So whether you’re starting a banana bread for the first time or, as an advanced home baker, want to take on a croquembouche (don’t), these are the lessons The Great British Bake Off has taught us all (including the armchair experts):
Lesson 1: Read the recipe, read it again, and then one more time just to be sure
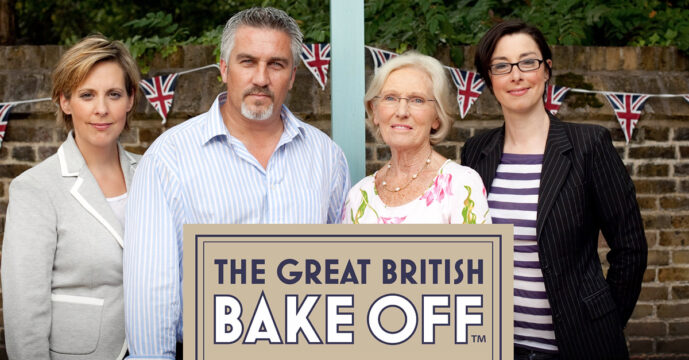
Mary Berry, the grande dame of TGBBO, couldn’t say it often enough: always read the recipe twice before you even start laying anything out. You should read a ‘normal’ recipe all the way through once before you start cooking (so you don’t discover halfway through that you were supposed to preheat the oven for half an hour), but when baking, which requires the utmost precision, it’s even more important not to miss a single step (or ingredient).
Lesson 2: Stick to the correct quantities
A few more or fewer chickpeas or spoonfuls of tomato sauce in your shakshuka don’t matter at all, but the prescribed quantities of ingredients when baking are absolutely not optional. Whether a cake succeeds or fails has to do with molecular compounds and a number of specific ‘laws’; sugars make things moist, eggs bind, baking soda makes things rise, and so on. A good (tested) recipe has a chance of succeeding almost exclusively if you stick to the carefully weighed quantities.
Lesson 3: Not every oven is the same
While too much or too little sugar, butter or flour quickly makes a major difference to the result (and success), you can be a little more lenient with the baking time. That’s because not every oven generates exactly the same heat as another, and a difference of a few degrees can mean that your creation needs to stay in the oven slightly shorter or longer. Keep a close eye on appearance and texture (with a skewer), and at least you can still feel a little in charge of your kitchen timer.
Lesson 4: Look through the dough window
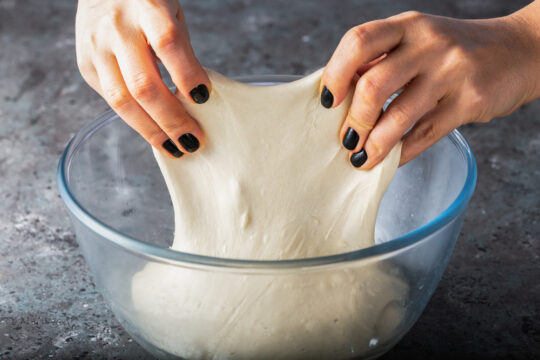
Bread dough needs to be kneaded for a long time so that the result is a light, not overly dense loaf. There are several ways to test whether you’ve kneaded the dough until it’s elastic enough. You can stretch it, and according to Paul Hollywood, you should be able to stretch it quite far without it breaking. Another option is Kimberley Wilson’s trick from season 2: stretch out a piece of dough and hold it up to see whether you can see light through it.
Lesson 5: There are no short cuts for proofing dough
Contestants who watched that unforgiving clock tick tried all kinds of things to make dough rise faster. Putting it in a warming drawer, simply continuing with the preparation earlier—anything to get around the proofing time. Spoiler alert: it never worked. That dough is going to take its time (for a perfect result, at least), so surrender to it. You can clean your worktop one more time.
Lesson 6: Use dry fruit
In the cherry cake challenge from season 1, several contestants saw that the cherries had sunk to the bottom of their cakes—and were soggy to boot. Mary patiently explained that it was important to let the cherries dry first before adding them to the batter. On her own website, she explains that adding some ground almonds to the batter also helps prevent fruit from sinking.
Lesson 7: Use frozen fruit for a beautiful colour
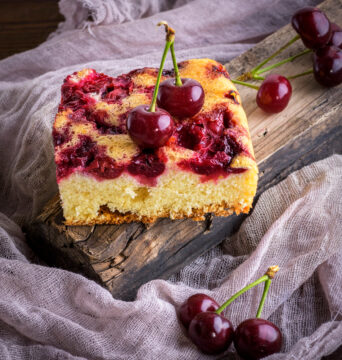
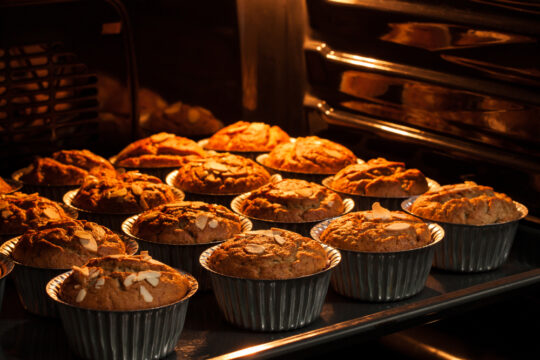
Always handy to have in the freezer for, say, a smoothie or a quick coulis: a bag or tub of frozen fruit. Winner Nancy Birtwistle (season 5) swears by frozen fruit because it releases much less colour into the batter during baking than fresh fruit. That greyish tinge through your blueberry muffins is always a bit of a shame, so we’re taking this tip to heart!
Lesson 8: Use the right position in the oven
Or rather, that’s what you want to tell your baking tin. There’s a reason many baking recipes ask you to place the rack in the middle of the oven or one-third of the way up from the bottom. Mary Berry also patiently explained that this isn’t for nothing: if you place a cake or tart too high in the oven, a peak can form on top or a hard crust can develop. What a shame.
Lesson 9: Blind baking prevents a soggy bottom
Not with your eyes closed, of course, but it does pay to blind-bake a tart shell first before adding the filling. You do this with special blind-baking weights or simply dry rice, with a layer of baking paper between the dough and the blind-baking filling. Naturally, this is to prevent the infamous soggy bottom!
Lesson 10: An ugly dessert is better than no dessert at all
And there you are, with a completely failed, sunken cake or a runny Baked Alaska, perhaps even tears in your eyes. Throw it in the bin? No! It might taste absolutely delicious! When someone in season 1 threw away his melted Baked Alaska out of bitter disappointment before the judges could taste it, he himself was sent home too. Berry and Hollywood didn’t agree that the creation, however unattractive, should not have been tasted by them simply because its maker wasn’t happy with its appearance. Though we do think that, for example, an absolutely hideous penis cake really can’t see the light of day, so just throw that one away…
Read also:
- This woman makes the most beautiful fairytale cakes (quickly hide your own clunky biscuits)
- Jamie Oliver’s banoffee Alaska
- The taste of the Netherlands? Janny van der Heijden is going in search of it!
Source: EatThis, header image: TGBBO


