



Seasoning your new pan: how to do it in 6 simple steps
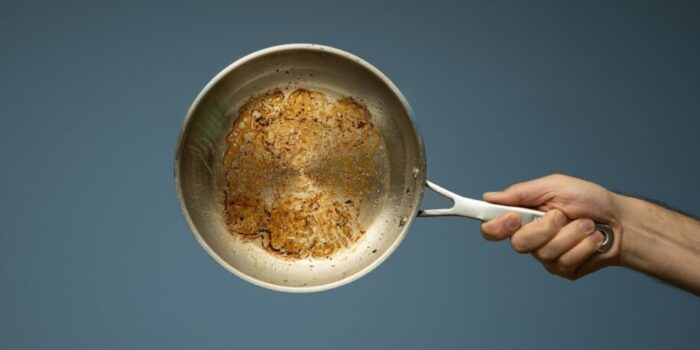
Your gorgeous new stainless steel pan is shining on the heat. Until you see something you really don’t want to see: a dark brown, crusty layer on the bottom. Oh yes, your pan has food stuck to it. Shit! A scenario you naturally want to avoid at all times. That’s why we’re sharing a handy step-by-step guide to help you create a non-stick coating in your stainless steel pan yourself.

Switching to stainless steel pans is a smart move anyway. Because while pans with a non-stick coating may cook food very nicely, they aren’t exactly healthy for us. That non-stick coating is full of PFAS: chemicals that are harmful to us when heated to high temperatures. We’ve written about it before, because PFAS are even found in fast-food packaging and fruit and vegetables. So good for you with your PFAS-free stainless steel pan! And don’t worry about the non-stick coating it doesn’t have, because you can simply make one yourself in a few easy steps.
How to create a non-stick coating in your stainless steel pan, step by step
Creating a non-stick coating in your stainless steel pan yourself is also called ‘seasoning’. You don’t need anything special for it. In other words: you probably won’t have to go to the store. Or do you not have sunflower oil and kitchen paper at home? Then you will. Here’s what to do:
1. Many stainless steel pans have a kind of wax layer: a protective coating. First wash it off with washing-up liquid and a brush. Then dry the pan.
2. Heat the pan slowly until it reaches approximately 100 degrees Celsius.
3. Grease the pan with an oil with a high smoke point. Sunflower oil, linseed oil, avocado oil, macadamia oil or grapeseed oil is a good choice in this case.
3. Continue heating the pan. Gradually turn up the heat.
4. Slowly but surely, a brown layer will form on the bottom of the pan. Is your pan starting to smoke? Then turn off the heat or induction hob.
5. Remove the old oil residue from the pan with kitchen paper. Note: don’t use washing-up liquid to clean the pan! Kitchen paper is sufficient.
6. Repeat the process several times. After repeating it four or five times, you’ll have created a beautiful non-stick coating.
The golden rule is always: be patient. Never turn the heat up too high straight away, but let the pan heat up slowly. Every time. Your pan won’t be happy with a huge amount of heat all at once.
Top tips for your stainless steel pan
An extra tip to get the most out of your homemade non-stick coating: make sure your pan is properly hot when you start cooking. Set the heat to medium or your induction hob to the middle setting and let the pan heat up slowly. How hot should it be? You can easily test this. If you drip water onto the bottom of your pan and the droplets start moving around, you’re good to go. Is nothing happening to the water? Then the pan isn’t hot enough.
And one more thing… In this case, it’s not advisable to clean your stainless steel pan with washing-up liquid every time. That will degrease the pan, meaning you’ll have to season it all over again. So clean your pan with kitchen paper after use. Is the pan really filthy? Then of course you can clean it with warm water, soap and a soft sponge or cloth. PS FavorFlav’s Sharon also has a golden tip on how to get your burnt-on pan sparkling clean again. A tip that managed to save her marriage, it’s that good.
Also read:
- Do you need to buy new pans when switching from gas to induction?
- Why paper straws are the worst
- 10x our affordable Blokker favorites: these are the things you’ll want at home
Sources: KRO-NCRV, kookwinkel.nl, cookinglife.nl


